Framed Pumpkin Wreath
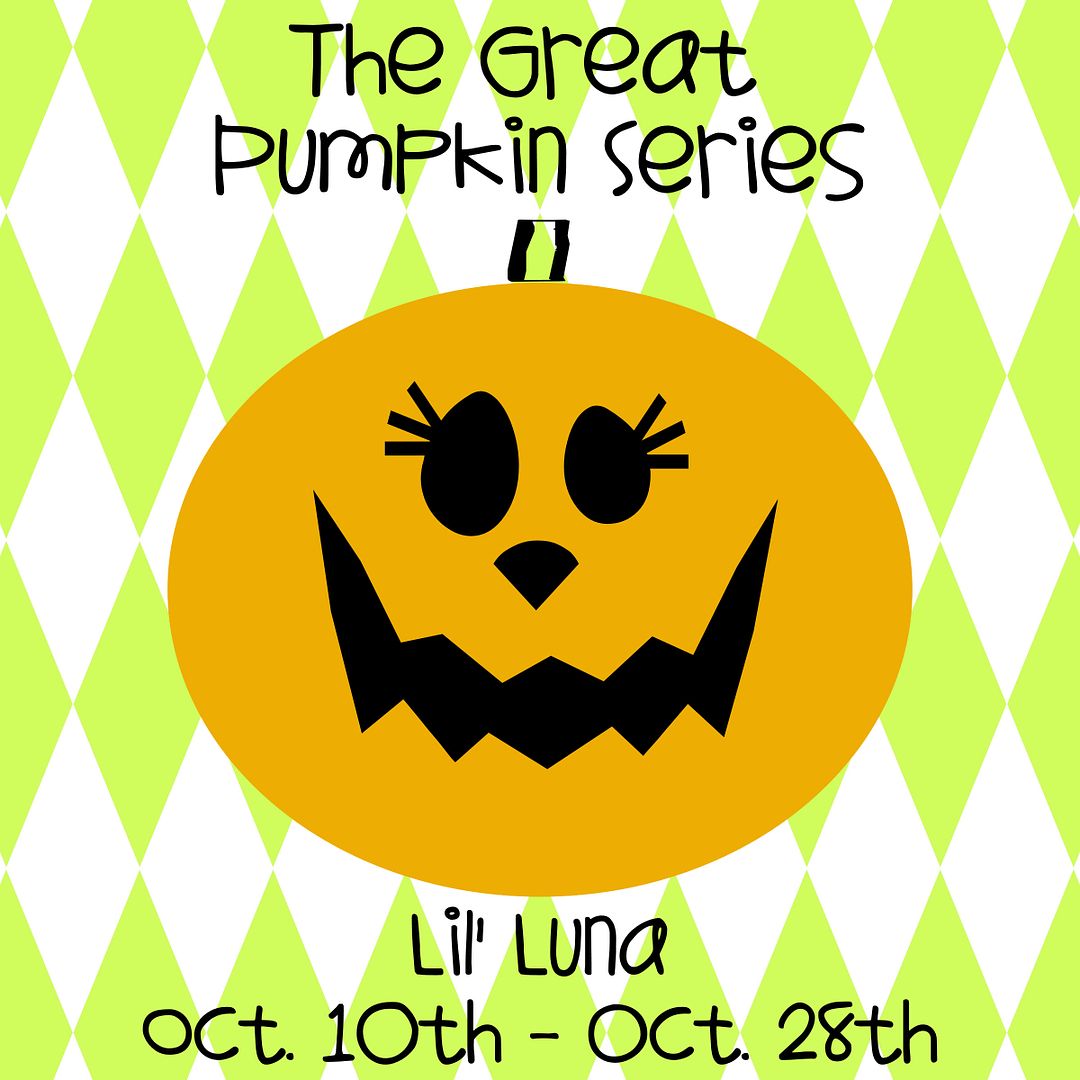
Today we're sharing the full tut we made for one of our blog besties, Lil' Luna.
She's hosting a fun event called "The Great Pumpkin Series" featuring pumpkin related projects + desserts until the 28th.
As you all know, Kristyn is super creative. Her paper accordions actually inspired today's project, our framed accordion pumpkin:
 We love how fall has transitioned from orange & browns to creamy whites, deep chocolates, grays, blues, greens with natural elements like twigs or wood. With that in mind, we created this simple front door decor to display now throughout November.
To make your own, you'll need an extra large shabby frame, grapevine wreath, 15" burlap (ends trimmed in V shape) and of course the cute accordion pumpkin to hang in the middle :)
Creating the pumpkin was a snap but a bit time consuming because of all that folding. Well worth it, though! The supplies used for this was 4 sheets of gray card stock, a sheet of fall paper, foam board to mat it on, lots of hot glue and a stick from the yard.
To begin, cut out a pumpkin shape (freehanded) from fall printed paper. From there we cut 20 strips (2 strips glued together create one row) of solid gray card stock. We had 10 rows of accordion strips, cut thicker for the middle and thinner as you worked your way out, and began the tedious folding of the strips. We then began glueing onto the printed pumpkin shaped paper, one strip at a time. It's easiest to start in the middle and work your way out:
After the strips were glued together, we snagged a stick from the yard and hot glued that to the center of the accordion pumpkin: To make the accordion pumpkin extra sturdy, we glued it to a foam mat then cut the excess mat off. From there we simply assembled the frame (tied a burlap bow around the wreath/frame) and tied jute around the stem of the pumpkin onto the burlap bow:
That's it!
Easy project but makes a big statement when you walk into Kelli's cute home:
 And a BIG thank you to Kristi who pretty much did this project on her own start to finish using Kelli's wreath & frame. Thanks, Kris! ;)


Aw, you make such pretty things! I love seeing all the beautiful pieces that you create. This is gorgeous!
ReplyDeletesuper pretty girls! just pinned to my "to make" board ;-)
ReplyDeleteGORGEOUS!
ReplyDeleteI am a fan of the more neutral colors too, that framed pumpkin is just so darling!!
ReplyDeleteI LOVE your blog!!! Thanks for the fun tutorial, we'll have to do that tomorrow, my little girl and I! All about paper folding here!!!
ReplyDeleteI'm your newest "follower" and hope you'll stop by and say hello, too!!!
Aimee @ ItsOverflowing