The LOLLYPALOOZA frenzy continues on...

let's see how to Sew A Banner, shall we?
So I just gotta mention... this is the ChEaPeSt project ever! I found the felt for $.29/piece at Michael's and the ribbon & thread were already in my sewing stockpile so this project cost me less than $3 buckaroo's BUT makes a big splash in the nursery. Suh-weet! Let's get started:
Supplies*. You will need:

*This tutorial is based on 4 letters. See steps 1 and 4 for personalized measurements.
Step 1: Cut your banners out.
You will need:
1/4 piece of 9x12 felt (ie: my cream color) per letter. Note: you can fit 4 letters to each piece.
1 piece of 9x12 piece of felt per banner (ie: my chocolate color.)
Fold the felt vertically and mark the middle point (6") on the bottom of the felt: this will be the tip of the "V" shaped banner. Starting from that middle point, cut to each upper corner, like so:

That's it! Easy peasy!
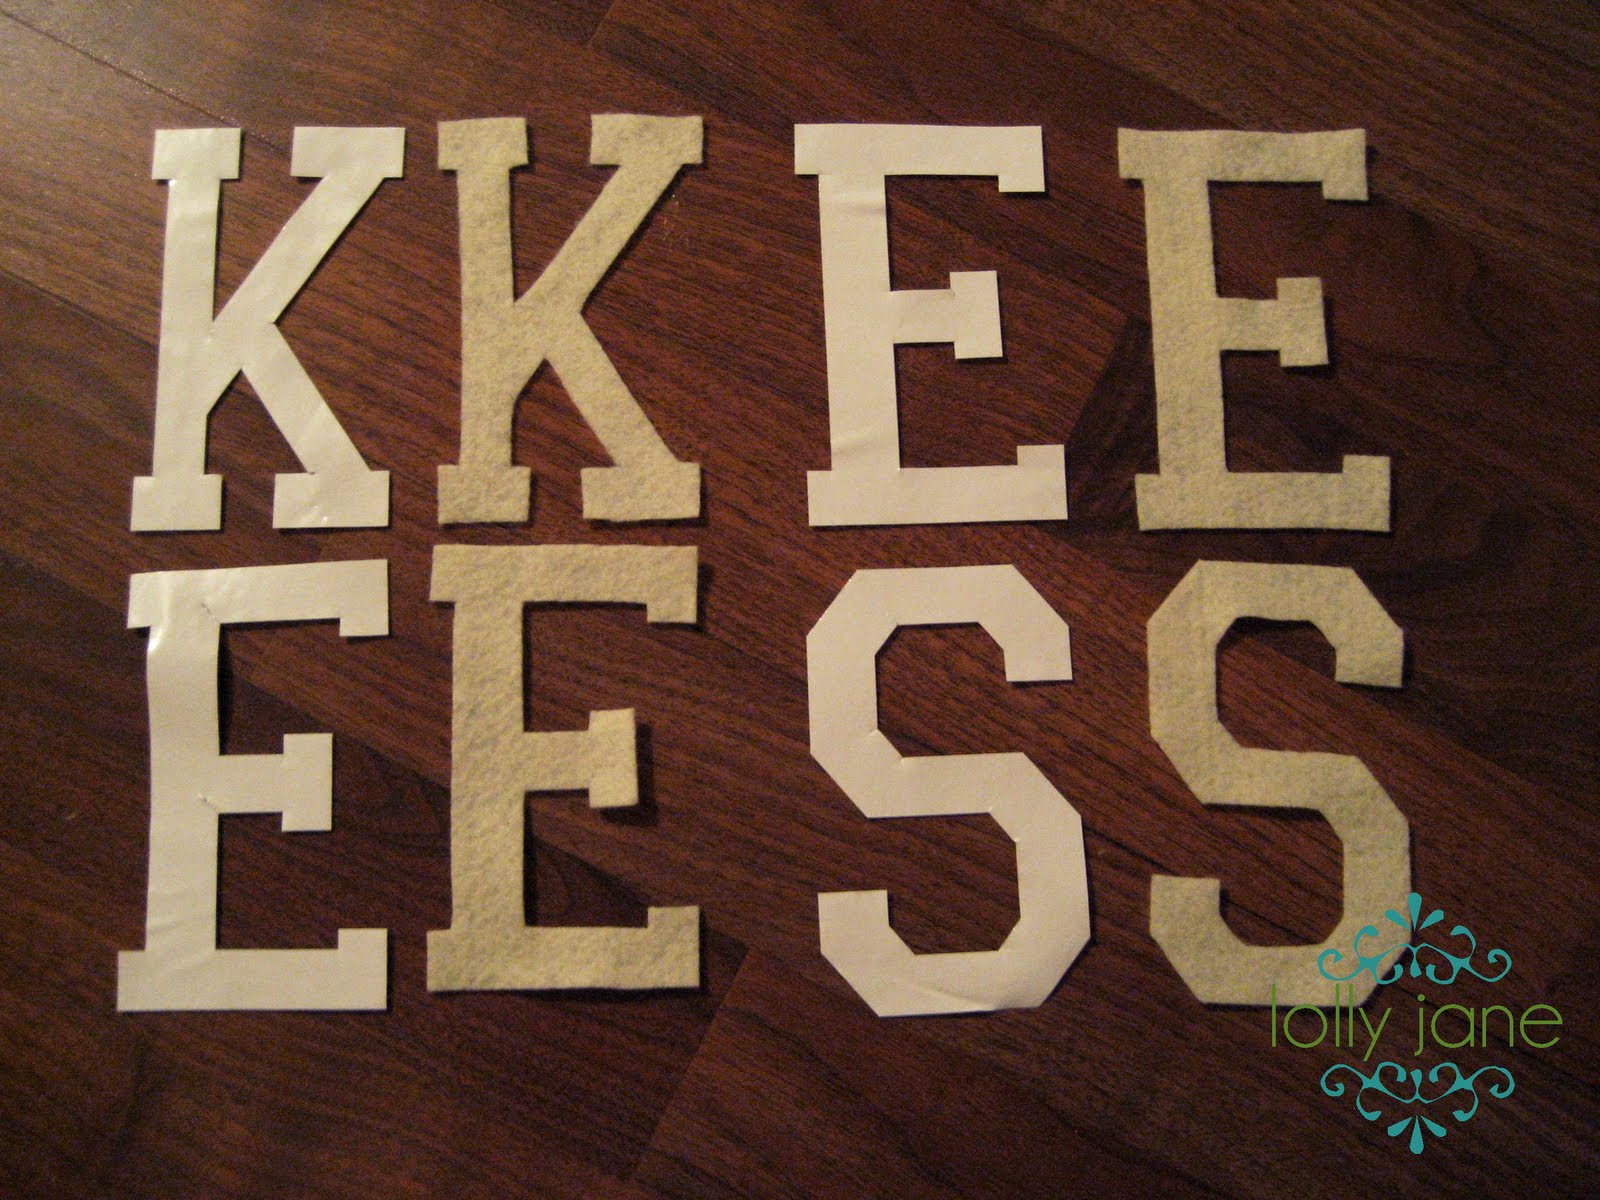
Step 2: Make a template.
Print your letters off in 250 point font, (FREE font can be found here) and trace around felt. Cut out:

Step 4: Sew your letters.
Simply stitch around the letters onto the banner. You know, I really like how this project has a kind of rustic look to it since my little boy's theme is vintage football. I'm thinking about rubbing some dirt on the cream letters to really give it that BOY feel........ just kidding :)

Step 5: Attach the ribbon.
How much ribbon you use will vary, depending on how many letters you will need. Each letter needs 12" of ribbon + 1/4 space in between each letter... add 1/2" per letter just to be safe. Remember, "Measure twice, cut once!" ;)
Back to the tutorial... pin your banners to the ribbon. Note: While sewing, give yourself about a centimeter of wiggle room between the top of the banner to the top of the ribbon (shown below) to avoid any felt peeking out.
 Also, I gave myself about 6" of extra ribbon on each side for hanging purposes.

Step 6: Sew the ribbon to the felt.

Step 7: Hang & enjoy the view!
So there you have it, folks:

an easy, personalized banner to spruce up your space!
Don't forget to come back tomorrow for the last of the Lollypalooza 2010 tutorials!
Super fabulous! The price is pretty fabulous too!
ReplyDeleteFound you on my blog :) Your blog is super cute! I would love a "shoutout". We should think about featuring eachother, or doing guest posts, we have about the same amount of followers... I am now following you :)
ReplyDeletei'm impressed! :)
ReplyDeleteWhat a lucky little guy to have such a great looking room!
ReplyDeleteThanks for linking up to the “Cheap Thrills Thursday” party at Black Kats Design. I hope you had fun and will join in again next Thursday!
Kat
www.BlackKatsDesign.blogspot.com
Kees is such a lucky litte guy to have such a creative mom.
ReplyDeleteLove it!
I really like this idea.
ReplyDeleteMy Friday Blog - Monkey See, Monkey Do
Hope your weekend treats you well!!
You make it look simple enough! Ya'll have really rocked that nursery out! It is full of such creativity.
ReplyDeleteThis is so adorable!
ReplyDeleteThanks for linking up!
You are very crafty!
ReplyDeleteCome follow back and visit!
Happy Blog hop!
XO
Frenchy
I love banner - fresh and chic but also a little vintage. Fabulous!
ReplyDeleteOh, love it! Love it!
ReplyDeleteThank you for sharing!
Leticia
I love this! I think I need one for my kids room.
ReplyDelete